
Continuously Deployed LaTeX CV
A CV-CD FlowPermalink
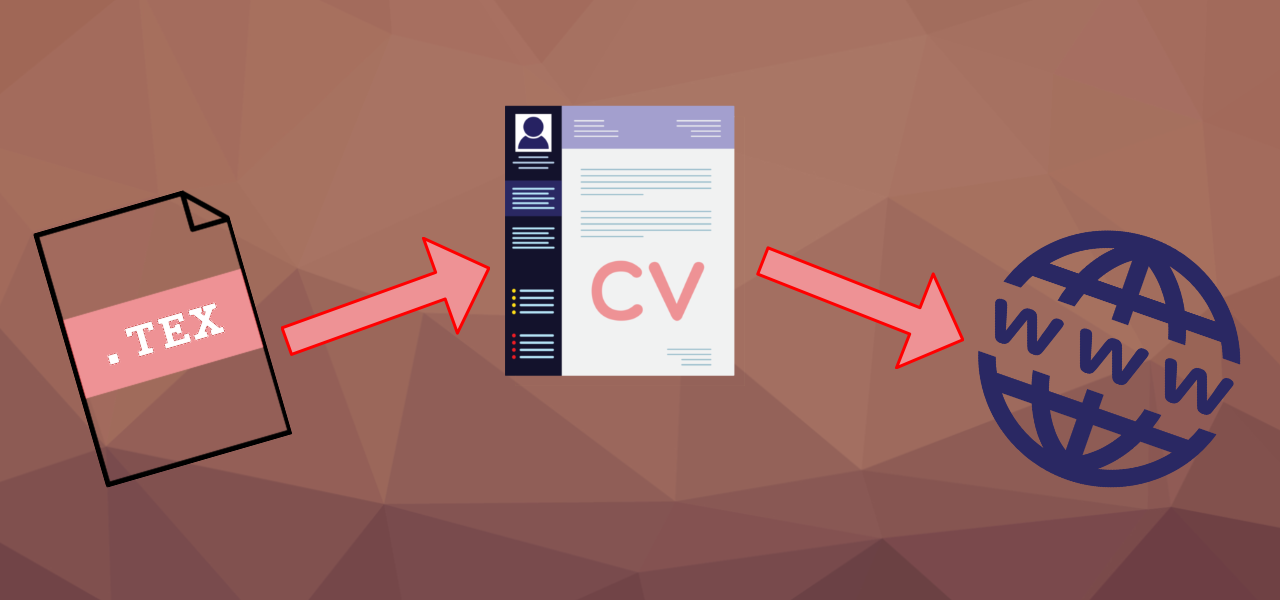
When I was updating my CV, written with LaTeX so that I can have it under version control, I thought that it would be great if it had a link in the footer to the latest version. Then whoever has a copy of cv.pdf can click on the footer link https://some.site/cv.pdf to get the latest version.
I quickly uploaded my CV and inserted a footer link. Problem solved!?
Not really, it’s not for long that the latest version is uploaded to a website if I need to upload it manually. We need Continuous Deployment (CICD: Continuous Integration & Continuous Delivery - methodology and development process automation.
)!
This blog post sums up how I set up continuous deployment of a LaTeX CV up. I extracted the MVP parts to two repositories demonstrating in full the setup. You can just clone these if you want.
- erikw/cvcd-latex - The CV LaTeX source project.
-
erikw/cvcd-website - Personal website (GitHub pages hosted Jekyll) to where the
cv.pdfis deployed to.
StepsPermalink
1. Create LaTeX CVPermalink
The first step is obviously to have a CV written with LaTeX at all, say cv.tex. A good start is to use the moderncv class. Also track your CV in a new separate Git repostiroy
A minimal example can be seen at cv.tex.
2. Set up latexmkPermalink
Generating a full PDF from a LaTeX file can be cumbersome and involve rendering in several stages. Luckily this is a solved problems nowadays with latexmk.
You should set up a configuration file in the CV git project root so that you can run latexmk with no arguments. This will simplify local development of your CV, as well as the build action setup in the next step. Here’s an example of how a .latexmkrc can look.
With this configuration, just issuing $ latexmk should produce cv.pdf.
3. Setup latexmk Build ActionPermalink
Now we’re going to set up a GitHub Action Workflow that builds the PDF from LaTeX source when new changes are pushed to origin. The action latexmk-action solves this problem for us.
For this action to render your PDF, it needs to install all needed TeX dependency packages needed. In the case of the current version of moderncv, I figured out that we need to install these packages: moderncv, fontawesome5, multirow, arydshln. See the full workflow at deploy.yml.
Now a PDF is built on every pushed change to the cv.tex. Great! But that helps no-one, until…
4. Publish to Your WebsitePermalink
we push the produced PDF somewhere. You probably already have a personal website that you can integrate to. For this example, we’ll assume a very simple SSG (A Static Site Generator compiles the website before deployment. Then the generated web content is simply retrieved as-is by the client without any code running at retrieve time.) website with Jekyll (A Static Site Generator (SSG) built with Ruby. Popularized due to its adoption in GitHub Pages.
) hosted at GitHub. For this example, look at the minimal example I setup at erikw/cvcd-website.
For a Jekyll-site, all we need to do is actually just push the PDF to a static path. We’ll make it easy and push the PDF to the root of the site. After deployment it will be available at /cv.pdf.
For GitHub Pages, continuous deployment works automatically, with nothing to set up. If you use a different host and/or framework, just set up CD in a conventional way so that a push to the main branch with the PDF will publish it at a static path.
This means that for our example, all we need to do is to add another step to our deploy.yml that pushes the produced PDF to our website repo. The copy_file_to_another_repo_action solves this for us. Check the last part of deploy.yml and the action’s README for how to setup the API token.
5. Insert URL in CV FooterPermalink
Now, insert a link to https://your.website/cv.pdf in the footer of the PDF, and maybe even a “Rendered at $DATE”.
SummaryPermalink
Now, a pushed change to cv.tex will automatically be rendered and published to cv.pdf. Neat!


Leave a comment
Your email address will not be published. Required fields are marked *