Finger of god: using sudo with TouchID on macOS
Diggin’ Dotfiles CollectionPermalink
It’s time to dig the dotfiles, and to dig in to them! This post is a part of a blog post collection called Diggin’ Dotfiles where I unearth some gems from my personal dotfiles repo erikw/dotfiles.
The following articles are a part of this series:
- Manage shell configurations across different systems
- Wrap Dangerous Commands in pre-post ZFS or BRTFS Snapshots
- Finger of god: using sudo with TouchID on macOS
- Generate permutation shell aliases
- Git hacks
Finger of God: Using sudo With TouchID on macOSPermalink
Have you got a fancy MacBook with a TouchID button? Did you know that it’s super easy to configure sudo to use it for authentication?
All you have to do on a standard macOS system is to prepend a line to /etc/pam.d/sudo to enable the pam_tid.so module. With your favorite editor, say Neovim, edit the file like this $ sudo nvim /etc/pam.d/sudo:
# sudo: auth account password session
auth sufficient pam_tid.so # Added: allow TouchID. Original file below:
auth sufficient pam_smartcard.so
auth required pam_opendirectory.so
account required pam_permit.so
password required pam_deny.so
session required pam_permit.so
You’ll need to force save the file with :w! because there write permission on the file is not set.
To verify that it works, you might need to start by killing the active sudo session first if you’re configured it to have a timeout.
$ sudo -k
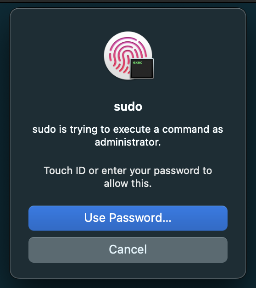
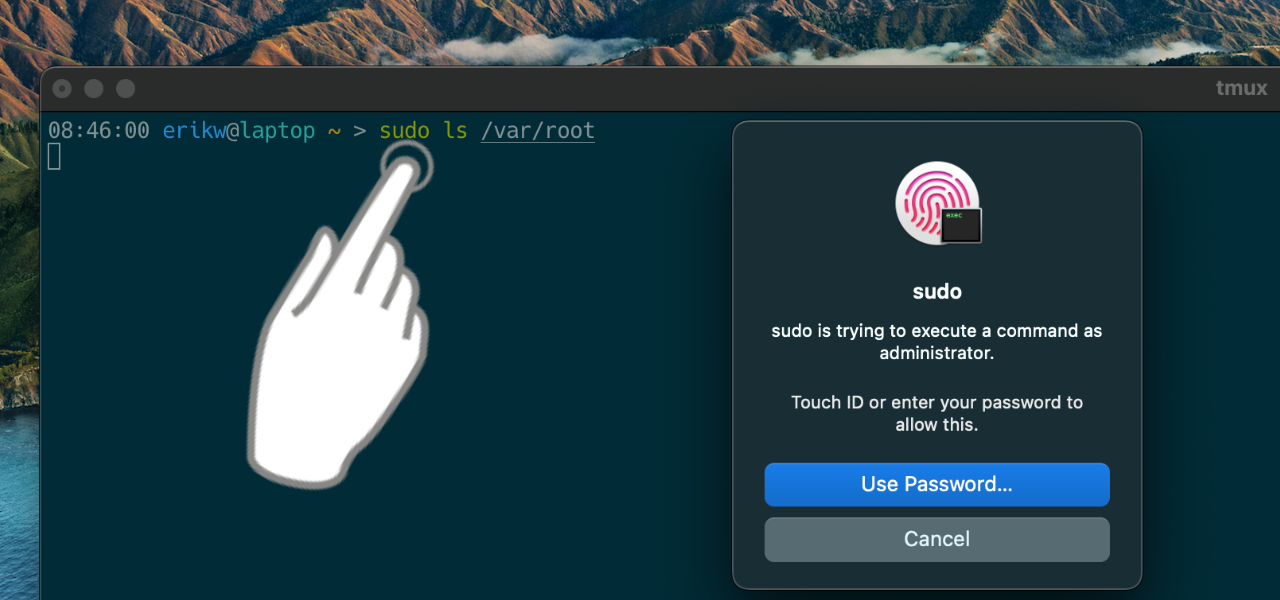
$ sudo ls /var/root # This should now open a TouchID popup!

TmuxPermalink
If you live inside Tmux you’ll soon or directly notice that it doesn’t work and you still have to manually type your passwords. The issue is that programs like tmux survive a GUI user session and is thus not connected in the same way as a GUI program. For background programs like this TouchID is not available or working properly.
There’s a solution though! To use the pam_reattach module. Start by installing it from Homebrew:
$ brew install pam-reattach
And now we need to prepend it to /etc/pam.d/sudo using the full path to it:
# sudo: auth account password session
auth optional /opt/homebrew/lib/pam/pam_reattach.so # For tmux
auth sufficient pam_tid.so # TouchID
auth sufficient pam_smartcard.so
auth required pam_opendirectory.so
account required pam_permit.so
password required pam_deny.so
session required pam_permit.so
Now you can use TouchID with sudo from within tmux!
Automation of OS Upgrade ResetPermalink
After using this setup for a while you might experience that it stops working all of a sudden. That’s because on OS updates the /etc/pam.d/* files will be rested to factory default. While you could make the effort to edit the file after every OS update, we can script this to make it easier! The script that I’ve made will:
- Update the sudo PAM file if it does not have the TouchID module installed.
- Make a backup of the original file with a timestamp, in case something goes wrong.
Save this script as macos_touchid_sudo_enable.sh somewhere in your $PATH e.g. ~/bin:
#!/usr/bin/env bash
# Enable TouchID on macOS unless it already is. This script should be run after OS updates as the sudo file is reseted then.
# Dependencies: $(brew install pam-reattach) for tmux https://github.com/fabianishere/pam_reattach
# Inspired by: https://mostlymac.blog/2022/03/01/use-jamf-self-service-to-enable-touchid-for-sudo/
# Run this script as sudo. Ref: https://unix.stackexchange.com/a/28794/19909
test "$EUID" -eq 0 || exec sudo bash "$0" "$@"
PAM_FILE=/etc/pam.d/sudo
SCRIPT_NAME=$(basename "$0")
read -r -d '' ADDED_MODULES <<-EOF
# Added by ${SCRIPT_NAME}:
auth optional /opt/homebrew/lib/pam/pam_reattach.so
auth sufficient pam_tid.so
# Original:
EOF
timestamp=$(date "+%Y-%m-%d-%H%M%S")
if grep -q "pam_tid.so" "$PAM_FILE"; then
echo "TouchID for sudo is already enabled."
else
cp $PAM_FILE ${PAM_FILE}.${timestamp}.bak
echo -e "$ADDED_MODULES" | cat - $PAM_FILE > ${PAM_FILE}.new
mv ${PAM_FILE}.new $PAM_FILE
echo "TouchID for sudo is now enabled."
fi
You can find the latest version of this script in my dotfiles.
Recovering from Screw-upsPermalink
Be careful when editing /etc/pam.d/sudo because if you make a mistake this can lock you out of sudo. I accidentally did this myself while writing the post as a tried my own script from this computer which does not have TouchID like my work laptop does. What then, wait until the next OS upgrade to reset the file?
There’s a few ways to recovery luckily! You can reboot the computer with cmd+r and restore the file with the recovery terminal shell, or maybe more easy make a copy of the file to your user space and drag-n-drop it back to /etc/pam.d/ with Finder which will then ask you for your password to complete the operation. See more details in this supersuer answer.
Now, use your finger wisely!


Leave a comment
Your email address will not be published. Required fields are marked *